Tired of losing stuff? Need a new bag for your purse or for travel? Want to make a quick homemade gift for family or friends? Well, I have the perfect tutorial for you! Our annual “Ladies Only” family weekend is rapidly approaching so I made these for the ladies. If I can do it, so can you! Same bag; two fun patterns.

Colorful stripes or stylish black & white - both are fun!
Are you familiar with oilcloth? It’s that fabulous retro fabric used mainly to make tablecloths. It has a plastic-coated outer layer and a soft fleecy flannel lining, which makes it perfect for these little cosmetic bags. It’s durable and washable. And if you have a great fabric store in your area, you can potentially find fabulous prints, solids or stripes to work with. You will, of course, need a sewing machine with a zipper foot to create these at home but if you’ve got that, you’re half way there.
For each bag, you will need:
1 rectangle piece of oilcloth (8 1/2″ x 11″)
1 heavy-duty 7″ metal zipper in a coordinating color
thread in a coordinating color
1 6″ piece of ribbon in a coordinating color
To start, cut your oil cloth into a rectangle. I used a standard piece of printer paper as my template, since it measures 8 1/2″ x 11″.

Next, cut the rectangle in half to make two equal pieces that are 8 1/2″ x 5 1/2″. You’ll also need to cut two tabs (1.5″ x 1.5″ square) for the zipper.

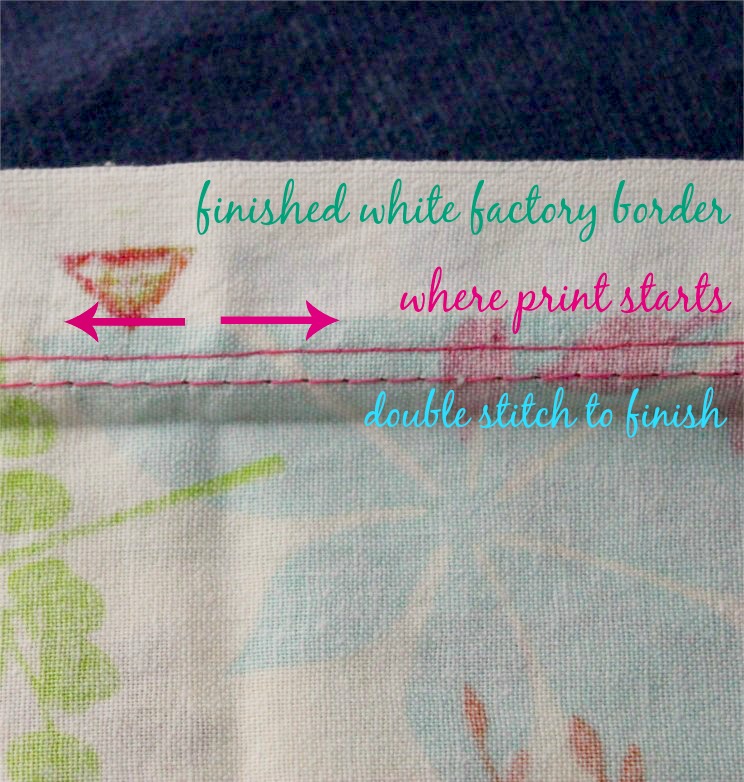
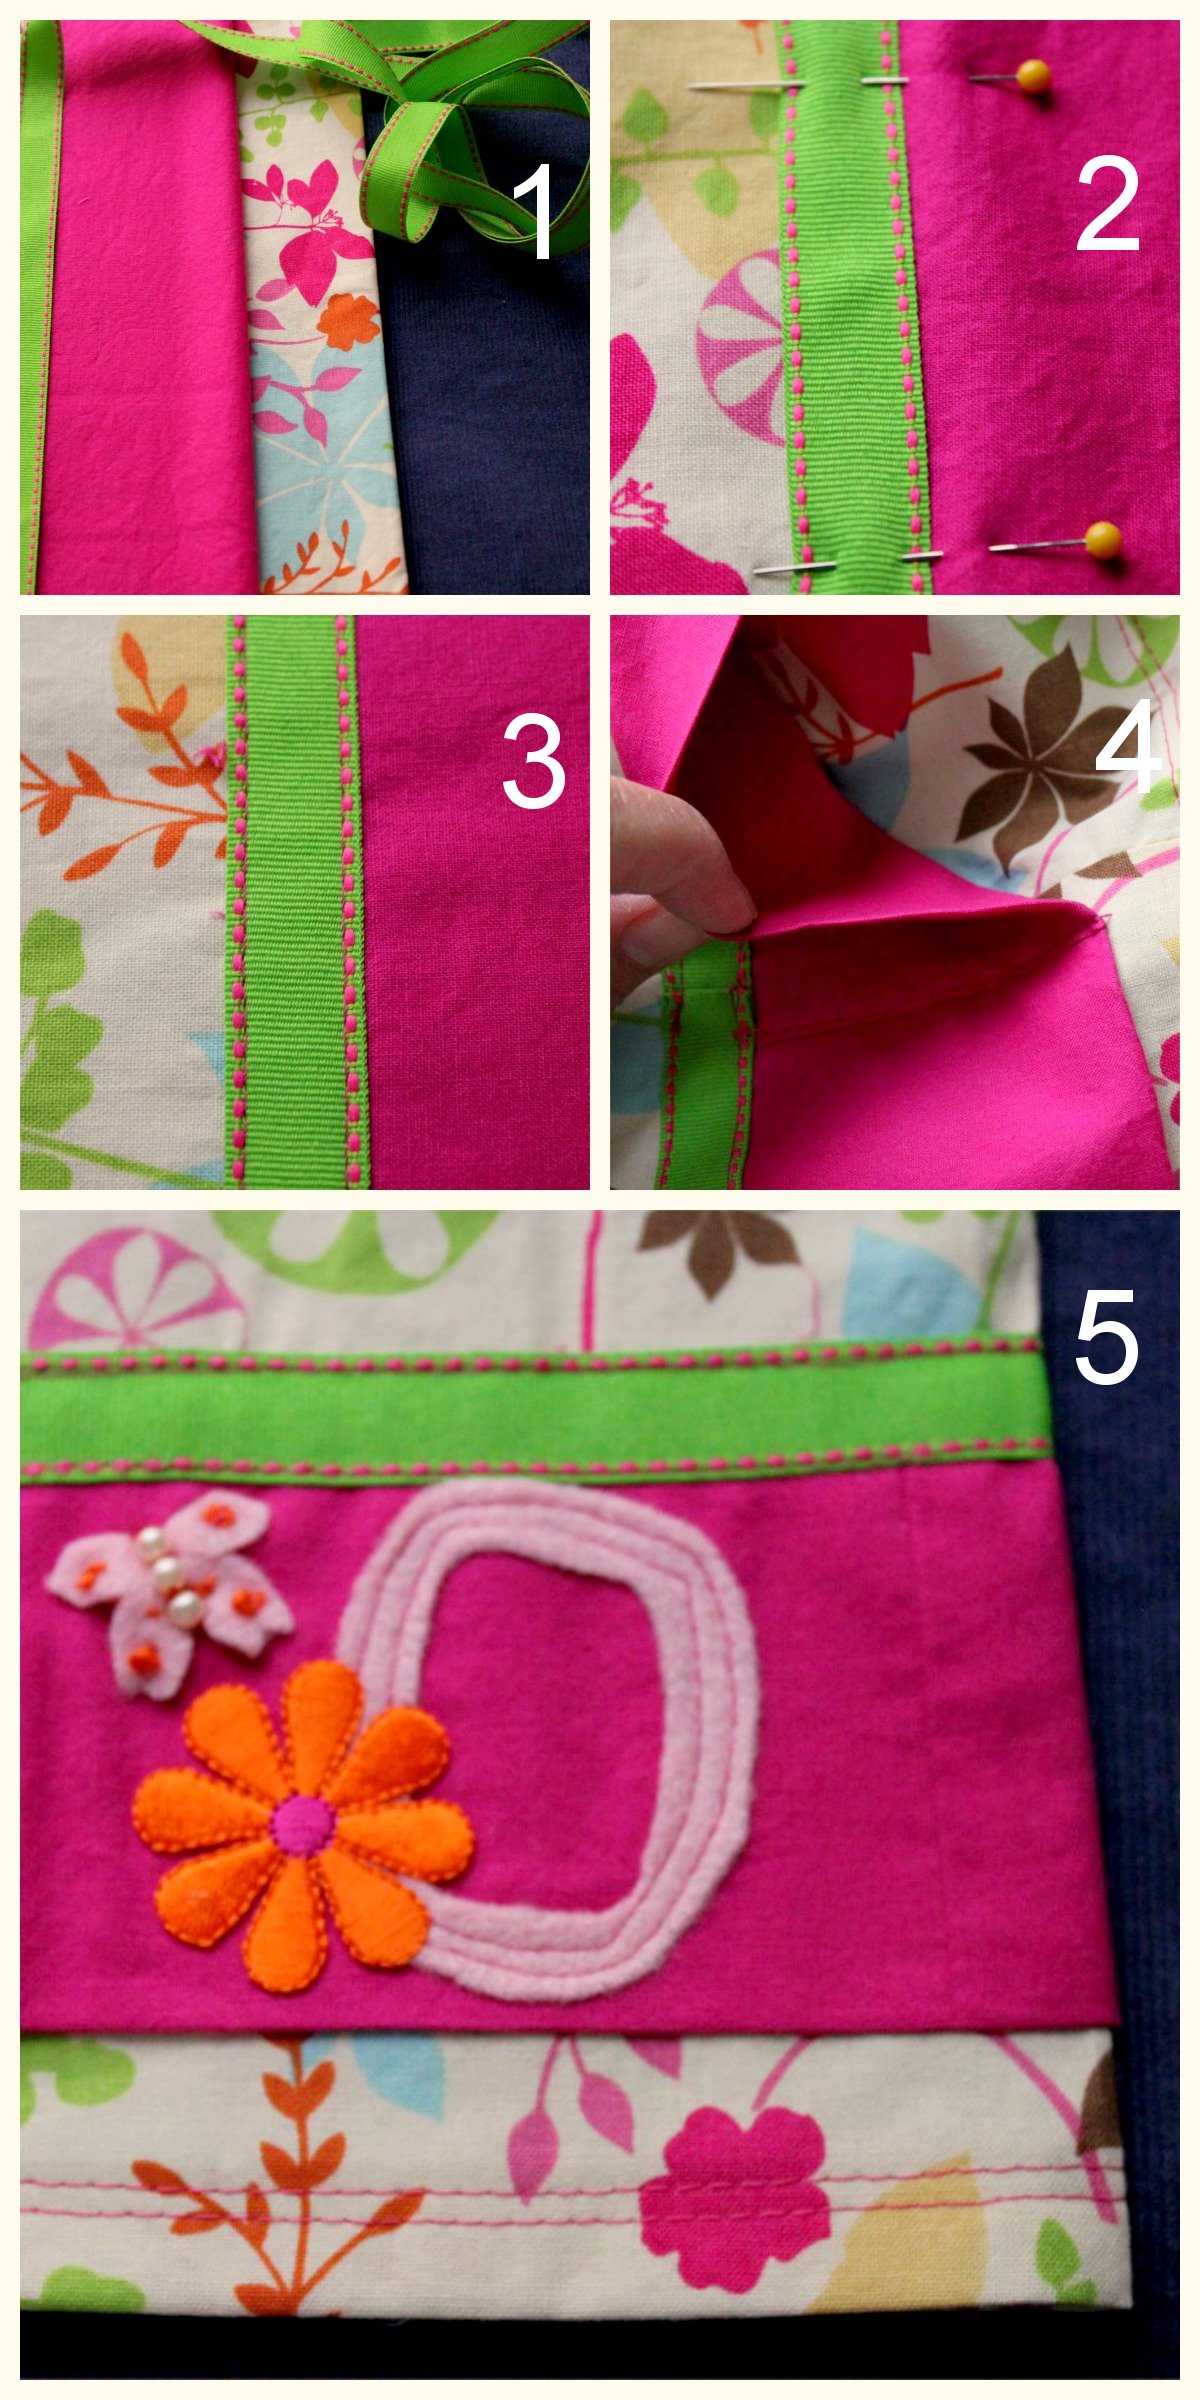
Using those small squares, you’ll need to stitch them on each end of the zipper. First fold one side under 1/4″ to create a finished end. Place that end up against the end of the zipper and pin into place. You’ll want to do this on both ends of the zipper, then double stitch into place.

Next, grab a side and fold one long edge under 1/4″. With the zipper closed, center the folded edge along one side of the zipper and pin it into place.

Using the zipper foot, stitch along the folded edge making sure you sew off of both ends. Also note that once you get close to the zipper, you’ll need to remove a few of the pins you just sewed over, raise the zipper foot, and unzip the zipper so that you can get past the zipper head without messing up your stitching. Don’t worry. It’s not as scary as it sounds. The pins you’ll remove to unzip the zipper will be in the area you just stitched, so it’s all good. Once you’ve stitched all the way across one side, remove the pins and do the same on the second side.

Using the same method, sew the second side of the bag along the zipper. Once both sides are stitched on, it should look like this.


Now that your two sides are stitched onto your zipper, you’re almost ready to fold it up and sew it shut. One important tip – before you do, be sure to unzip the bag half way. Otherwise, you’ll stitch your bag shut and the zipper pull will be on the inside. Unzipping that bag is going to be really difficult if the zipper pull is on the inside and the bag is sewn shut. (Live & learn, kids. Live & learn.)

So, once you’ve unzipped the zipper half way, fold the bag in half so that the “good” sides are facing each other and pin it to keep it from slipping as you sew.

Here are close-ups of the zipper ends and how they’re pinned.


See that white peeking out of the ends of the zipper? That’s what those tabs we sewed onto the ends were for. They cover that gap in the zipper so you have a nice finished edge when we’re done. I’ll show you another close-up of that in a moment. For now, start at one end of the zipper and using a 1/4″ seam allowance, sew around the three open sides of the bag. If you want, you can stitch around it twice. I just use the “back up” button on my machine and go over those top edges and the bottom corners a couple of times to reinforce them.

Here’s a close-up of those reinforced corners. Snip that corner off before you turn the bag right-side-out to get a good, crisp finished corner.

Turn the bag inside out and using a chopstick or other bluntly pointed object, gently poke the corners (top & bottom) to pop them into place. This is where you’ll be really glad you unzipped that bag halfway. Here’s a closer look at how those corners at each end of the zipper should look. It’s also a good look at how those tabs we sewed on in the beginning come into play. They really do help give a cleaner edge to the finished bag.


One last finishing touch – a ribbon as a zipper pull. It’s not necessary, but it adds a decorative touch and it does come in handy. You’ll need one piece of ribbon in a coordinating color, about 5 or 6 inches long. Fold the ribbon in half to make a 3″ length, then roll the cut ends together and poke them through the little hole in the end of the zipper pull.


Here’s another great tip – use Fray Check to seal the ends of that ribbon and keep it from unraveling. You can find it at fabric stores, and it’s worth keeping around. It really does work. If you wash the bag, retouch with Fray Check.

That’s it! Here’s a look at the finished bag.


If you’re going to use a striped oilcloth, be sure to match stripes when you sew these together. It makes a big difference in how they look once finished.

Same goes for those little tabs you sew on each end of the zipper. If you take a moment to lay all this out before you start pinning, you can even line up the stripes on those end tabs so they match as well. It takes a few more minutes of planning, but it’s worth it in the end. Sometimes, it’s the little things.

One last helpful tip. If you’re going to be making multiple bags, it goes faster if you cut each bag and lay the parts for each bag together. I also stitched all of the tabs onto the zippers before I started sewing bags together. It saved time by allowing me to just grab a zipper and go when I was ready for the next bag.

I hope you’ll jump in and try these. They’re fun to make, and don’t really take a lot of effort or time. If you have any questions, feel free to leave a comment or shoot me an e-mail. If you make them and post pictures, let me know where I can see them. I’d love to see how yours turn out.
And to my mother, sisters, nieces, daughter, granddaughter and all the ladies who’ll be coming to visit next week – surprise! You’ll be getting one of these. Feel free to call dibs on your favorite – stripes or print. They’ll be filled with swag, and they’re going to go fast.
PS – Do I need to apologize for that nail polish color? It is kind of a spastic, groady green. Sorry you had to see that. I was experimenting for St Patty’s Day. Don’t worry… it’s coming off. It’s true what they say. It’s not easy being green.