
There’s a bee in my bonnet – Lori Holt’s Bee In My Bonnet blog. It’s spectacular. I often drool over her beautiful website with its plethora of quilts, her line of custom-designed fabrics and patterns, and adorable craft tutorials.

This lawn chair pin cushion tutorial is one of my favorites. It starts with a metal lawn chair candle holder sourced from the dollar store. Mine is a vibrant shade of teal. From there, you just need a few basic items from the craft store.

Not pictured – loose quilt batting (a.k.a. the fluffy stuff).
I love this bright argyle print. It’s perfect for my tiny teal chair. To start, I measured the width and length of the chair. Stitching around three sides, I then turned it right-side-out and stuffed the ‘seat’ with batting. A quick stitch across the width of the cushion helped divide the seat from the back. The seat gets twice as much batting so the pins have something in which to rest. The back of the cushion gets a light stuffing and then the top is stitched shut.

To keep the cushion in place, I opted to stitch a color-coordinated ribbon to the back of the cushion and tie it to the chair. It can be hot-glued into place, but I opted for a ribbon so I can use it as a candle holder or blog prop at any time.

The last small detail, and I do mean small, is the button tufting on the cushion. Using tiny white buttons from the craft department at Hobby Lobby, I used embroidery thread to attach them at intersecting lines on the argyle print. Pulling the buttons tightly and stitching them down at the back creates that cute tufted cushion detail. And you don’t have to worry about the stitching showing on the back because the metal covers it. Perfect!

Okay, before I let you go I have to show you one more cute pin cushion idea I saw on Lori’s Instagram feed. She made a tiny travel-size pin cushion out of plastic Easter eggs. For real! They could not be cuter, so of course I had to try it. Tis the season, after all. Here’s how mine turned out.

Those glittery Easter eggs are from WalMart. I love the colors and texture. The fabrics are remnants from my fabric basket. This one it just too easy. To make, cut a 4″ circle of a color-coordinated fabric for each egg. Stuff it with quilt batting and pin or tie it into a ball. Use a glue gun or quick-drying craft glue to glue it into the bottom of the egg and allow it to dry completely. Once dry, add pins and presto! A tiny portable pin cushion you can pop in your pocket.
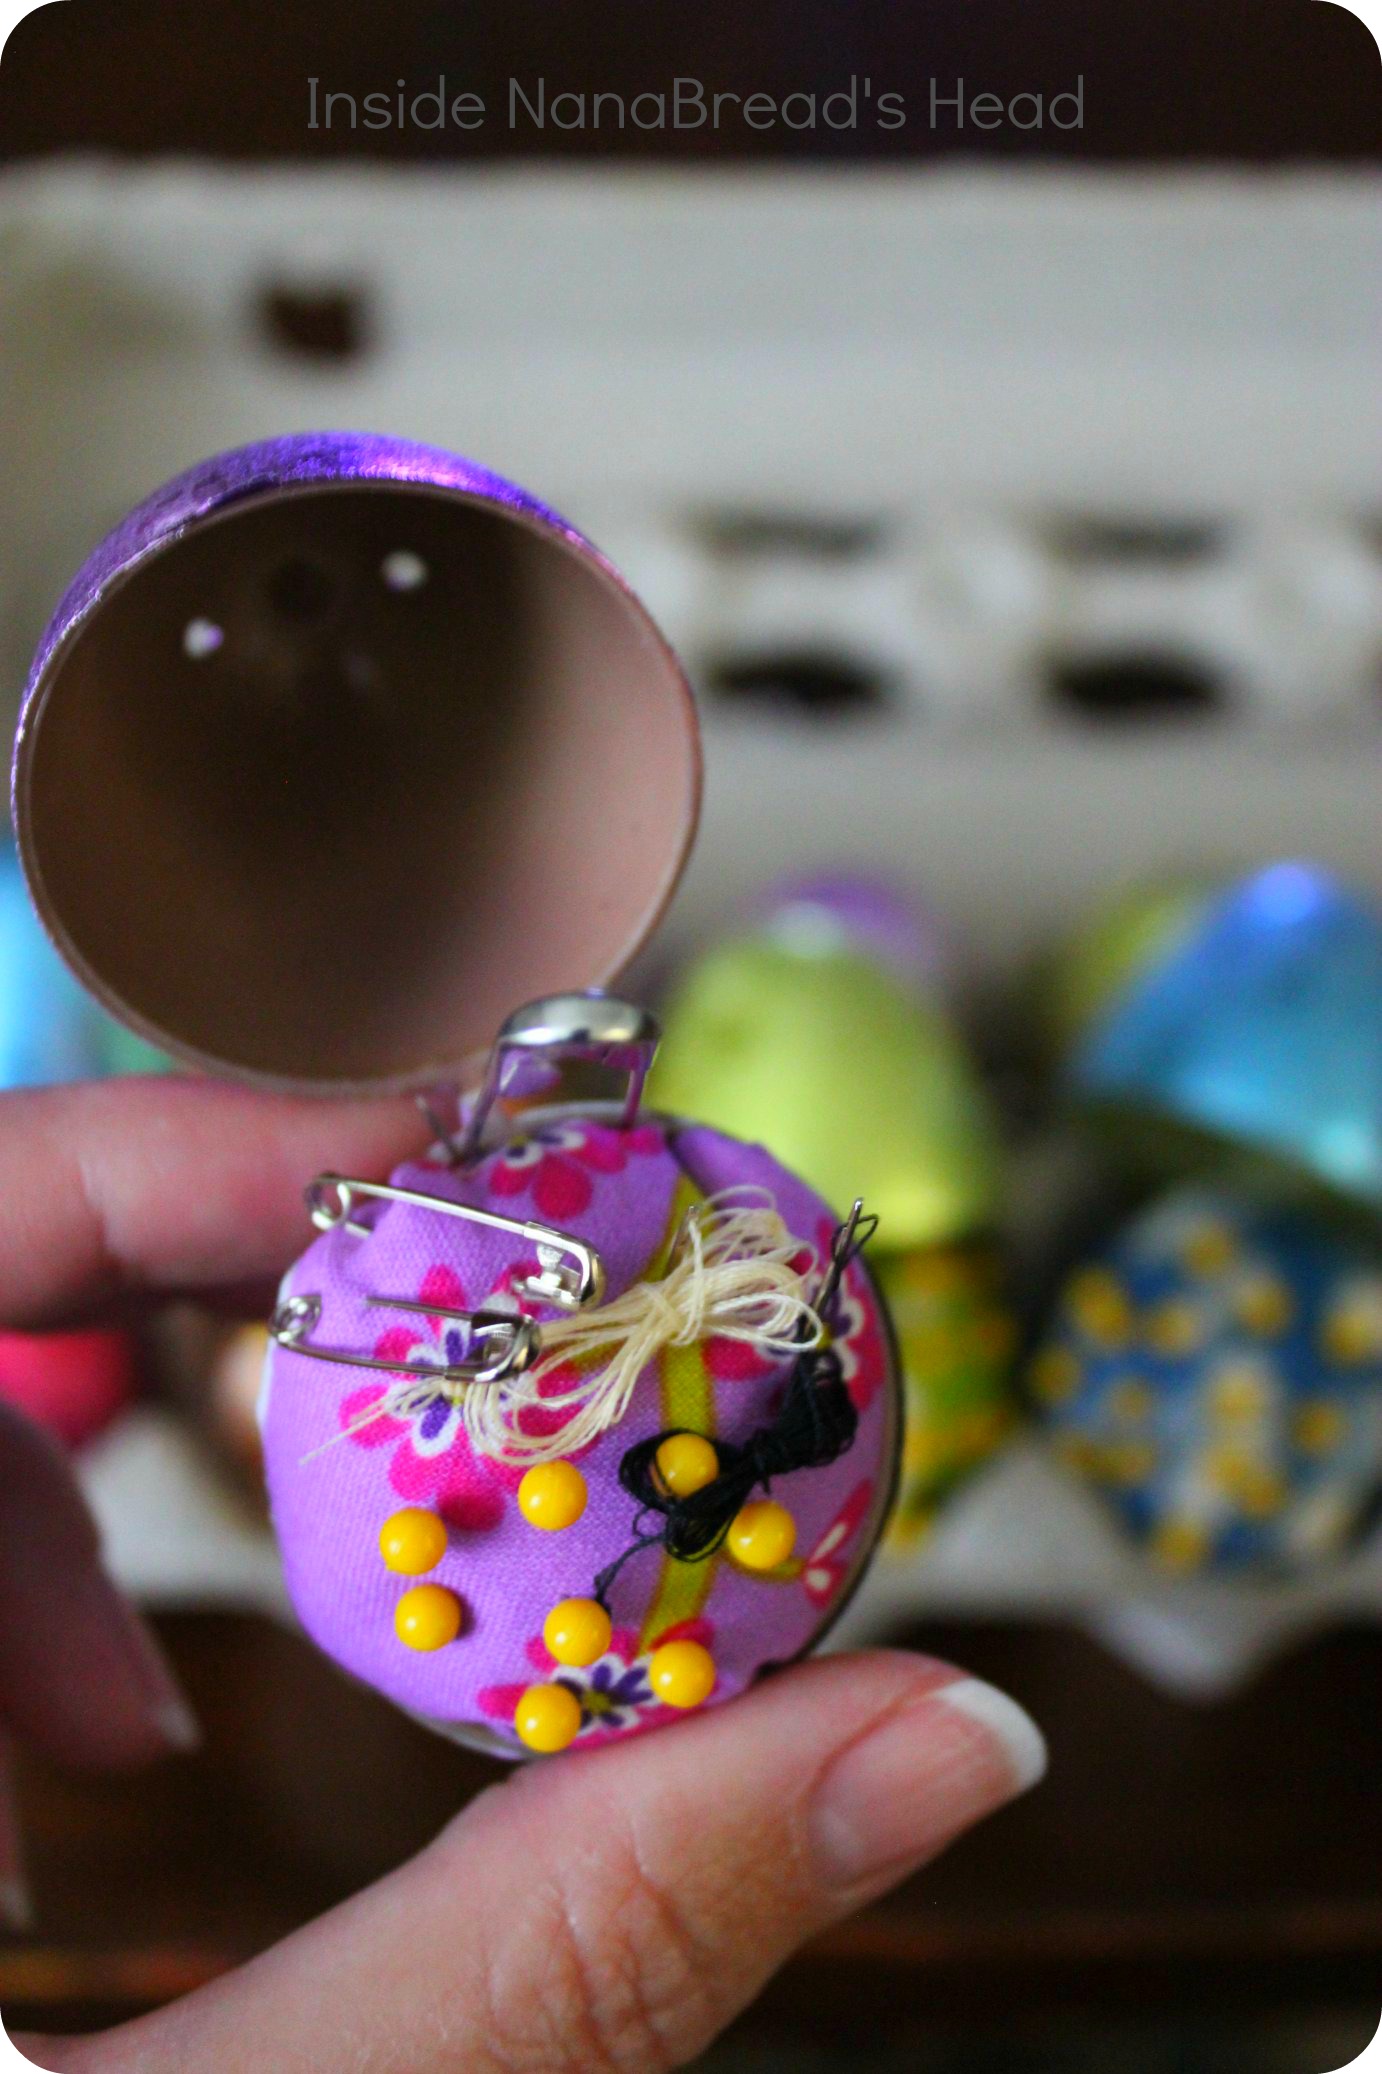
I went a step further and added a few safety pins and two needles pre-threaded with tan and black thread to convert it to a portable sewing kit. I can toss this little gem into my cosmetic bag for travel and never have to worry about losing a button again. Even better, these would make perfect gifts for a Ladies Only weekend. Thanks for the inspiration and tutorials, Lori!

If you love to get crafty or just appreciate true creative genius, visit Lori Holt’s Bee In My Bonnet blog. The links to these tutorials are imbedded above, or can be found by clicking here:
Lawn Chair Pin Cushion Tutorial at Bee In My Bonnet Co.
Apron Water Bottle Cover – Bee In My Bonnet Blog
Easter Egg Pin Cushion – photo on Lori Holt’s Instagram feed


Well, those are adorable!! L-O-V-E the chair!! That is tooooo cute!
Thanks, Sis!
I think those Easter egg pin cushion sewing kits are going on my list for next year’s Hoegarden Weekend. -j
Just when I think you have more craftiness in your pinky finger than I have in my entire body, you make something so super stinking cute to prove it. The pin cushions are too cute! I especially like the Easter egg sewing kit. What a great travel idea!
Thanks, Kirsten! {mwuh!}