This is not just a story about a recipe – it’s about a quest. A search and conquer mission. Okay, there IS a recipe, but it’s also about the journey to get here.

When The Complete Package and I moved to the Austin area last spring, we discovered Opie’s Barbecue in Spicewood, Texas. On a whim, he grabbed a slice of what they called Coca Cola Cake and a new obsession began. Each time we visited, he would look for the cake on the dessert rack, and most of the time it was sold out. Life can be cruel, and missing this cake became a constant topic for him, just as Opie’s famous butterbeans became for me (sold Friday-Sunday only; dine-in only; no whining allowed).
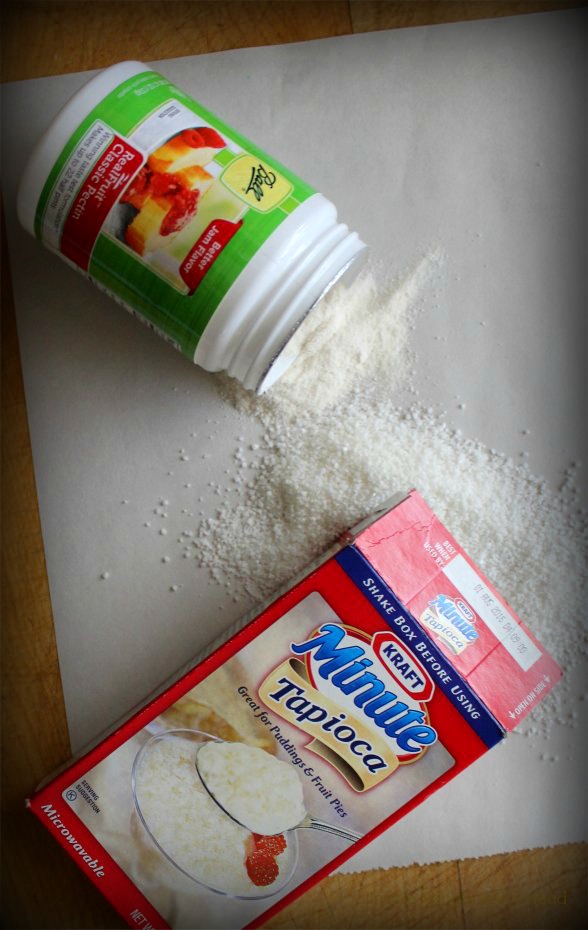
Because the cake became so elusive, I began to dig for recipes. Searches for Coca Cola Cake resulted in chocolate sheet cakes with fudge frosting, which is the traditional Texas way. Those cakes, however, did not resemble Opie’s version in the least. The cake TCP pined for tasted of vanilla, coconut and pecans. It was sold by the slice and slathered in cream cheese frosting. No chocolate. No fudge. No hope in sight. Then I ran across a blog post about a trip through Spicewood and a coca cola cake that prompted the writer to share a memory of her grandmother’s old-fashioned vanilla wafer cake. She included a family recipe, and that’s where I decided to begin.
The first time I made the cake, I followed the recipe exactly and the result was brickish. Too dense, too sweet, and no hint of coca cola anywhere, thus leading to further confusion about why Opie’s would call it such. The second time I made it, I scaled back on the sugar and liquids, reduced a Coke in a saucepan to create a syrup, and glazed the warm bundt with coke syrup before frosting. Result – still brickish, still too heavy, and slightly soggy from the syrup. Two fails in a row, but my mama didn’t raise a quitter.
On my third attempt, I went a completely different route. What the cake lacked was lift. Soft, fluffy lift. It was at that moment that it struck me. What if I added a plain yellow cake mix to the otherwise traditional ingredients? What if I gave up on the cola aspect all together and focused on keeping it simple? Could I use that dusty can of coconut milk in my pantry to boost the overall flavor? What was there to lose in trying? Sometimes one must be bold, or at least willing to fail. Again & again.
The surprising part is that it worked. Not just worked, though. It was delicious. So much so that The Complete Package declared it a winner. And that’s how we came to create our own version of this vintage Vanilla Wafer Cake with a modern twist. Thank you, Betty Crocker.
This comes together quickly, so pre-heat your oven, grease/flour your bundt pan, gather your ingredients and let’s get started.

NanaBread’s Vanilla Wafer Cake:
- 1 box (11 ozs.) Nilla Wafers, crushed
- 1 bag (7 ozs.) shredded, sweetened coconut
- 1 1/2 cups pecan pieces
- 1 box (15.25 ozs.) yellow cake mix
- 6 whole eggs
- 1 can (13.5 ozs.) coconut milk (not reduced fat)
- 1 teaspoon vanilla bean paste or vanilla extract
- 1/2 cup raw or granulated sugar (I used raw)
Pre-heat your oven to 350F. Grease and flour a bundt pan and set it aside.
In a food processor, combine the vanilla wafers, coconut and pecans. Pulse until blended to the consistency of coarse sand and no large chunks remain.

Pour the crumb mixture into a large mixing bowl and add the cake mix, eggs, coconut milk, vanilla and sugar. Just dump it all in there. No need to be delicate.

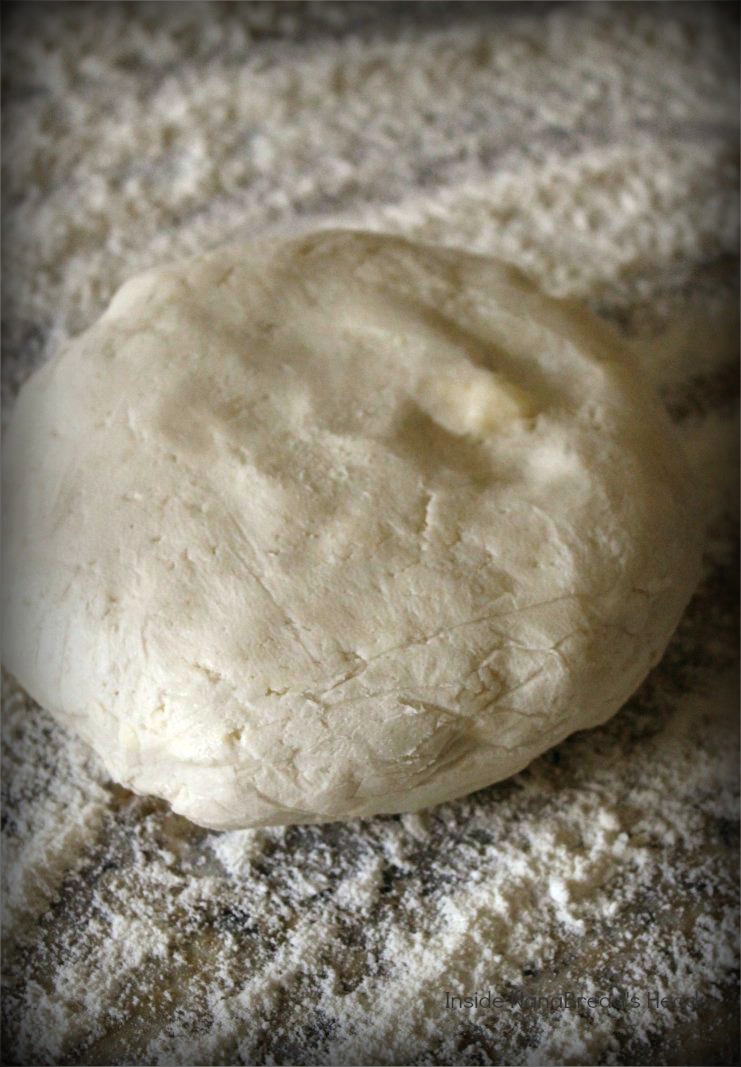
Grab a spatula and stir to combine (no mixer needed), just until all ingredients are moistened. Pour into your prepared bundt pan and smooth out the top.

Bake at 350F for 30-35 minutes, or until a toothpick comes out clean or with a few small crumbs. Keep an eye on it near the end. You don’t want to over-bake this one. Remove from the oven and allow it to cool in the pan for 15 minutes, then invert onto a cake plate and allow it to cool completely.

I swear, your house will smell like heaven right about now. This cake is good enough to eat as is, but I think we all know everything’s better with cream cheese frosting. I like to keep mine simple. In a small mixing bowl, combine one 8-oz package of cream cheese and 1/2 a stick of unsalted butter. Allow both to rest at room temperature until softened. Add 1 teaspoon vanilla extract or vanilla bean paste (my favorite), and 1/2 to 1 cup of powdered sugar, depending on how sweet you like it. Whisk until smooth and put it in a bag for piping.
Want a quick tip for piping frosting? I do it with a Ziploc freezer bag. Simply take a quart freezer bag and put your hand inside. Then put your hand & the bag down into a tall drinking glass and remove your hand. Then fold the edge of the bag over the rim of the glass. It keeps the bag upright while you fill it.

Fold the edges of the bag up, press out the air, and seal the bag. If you have time to kill before your cake is cool, simply pop the bag back into the refrigerator. When you’re ready, snip the corner off and you’re ready to pipe. I love this time saver.

I like to use a sheet of parchment paper to keep excess frosting from running off the cake plate after it’s piped. You’ll see what I mean in a second. Twisting the top of the bag to press the frosting down to the corner, start piping in the center of the bundt and work your way from inside to outside around the entire cake.

I’m not playing when it comes to cream cheese frosting. I put it on thick, and I make sure there’s excess frosting in the middle, just in case I want more. And I always want more.
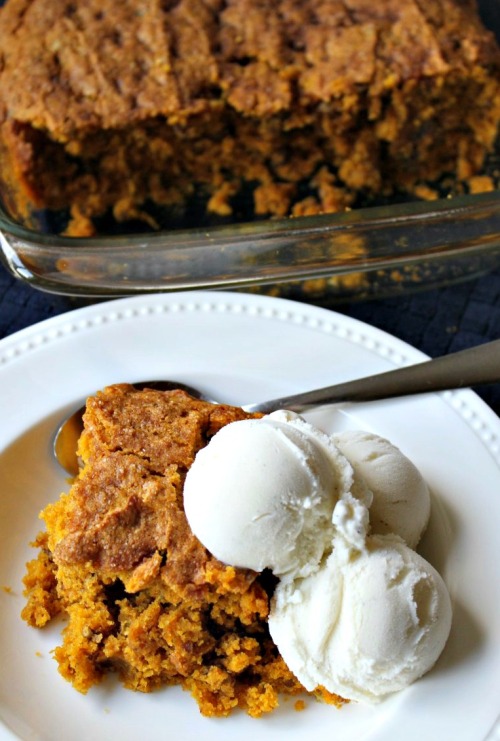
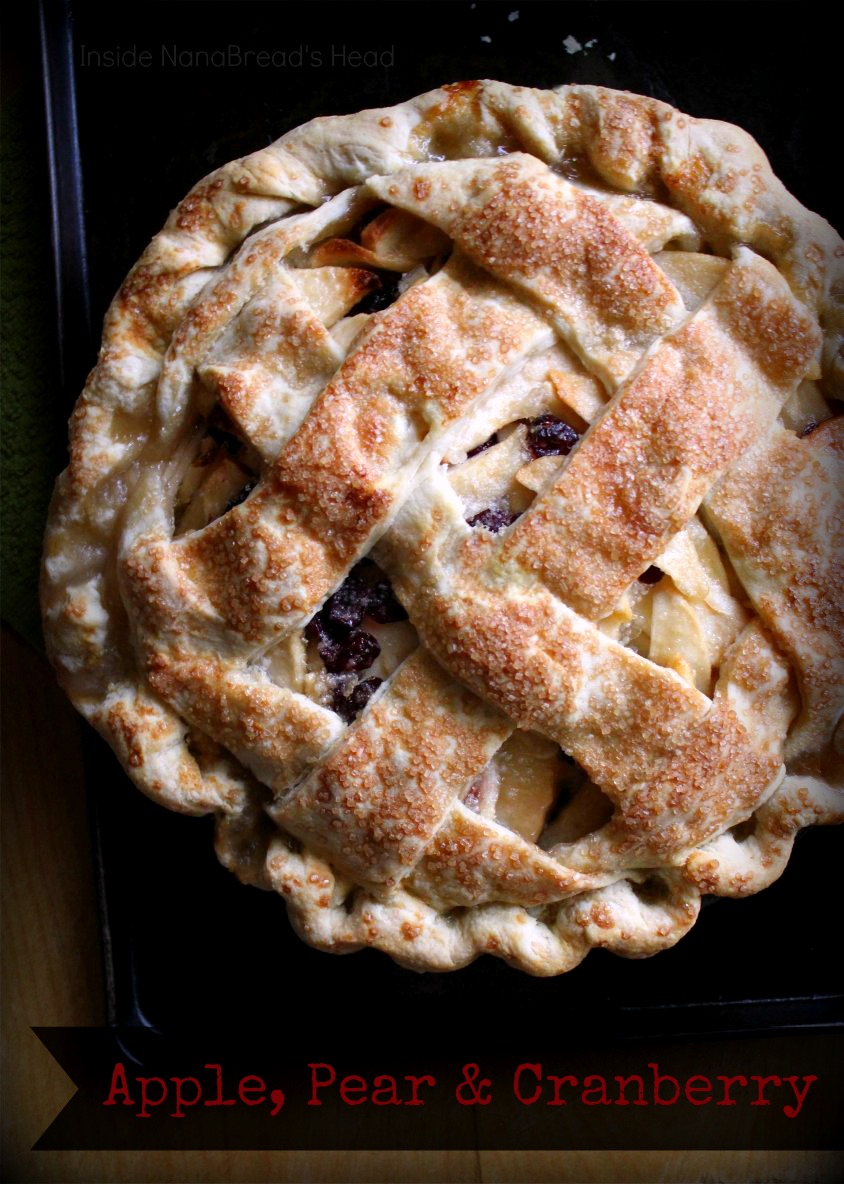
So simple, y’all. And so flavorful. And look at that lift! This one’s a keeper.
Sorry, Opie. I’ll gladly stand in line for your beautifully smoked meats, your creamy tater tot casserole, and your dine-in only butterbeans every weekend, but I’ll be having dessert at home from now on. Care to join me?