Ever read the fabulous food blog Country Cleaver? You should. It’s author, Megan Keno, is amazing. Each week, she posts an instructional kitchen how-to lesson. This week, it was how to make a perfect balsamic vinegar reduction. One ingredient, one method, one beautiful result. As a new twist, she is turning her How-To Tuesday posts into a monthly contest. The winner receives a $25 gift card to Target. I like Target, but I love a food challenge. Let’s do this!
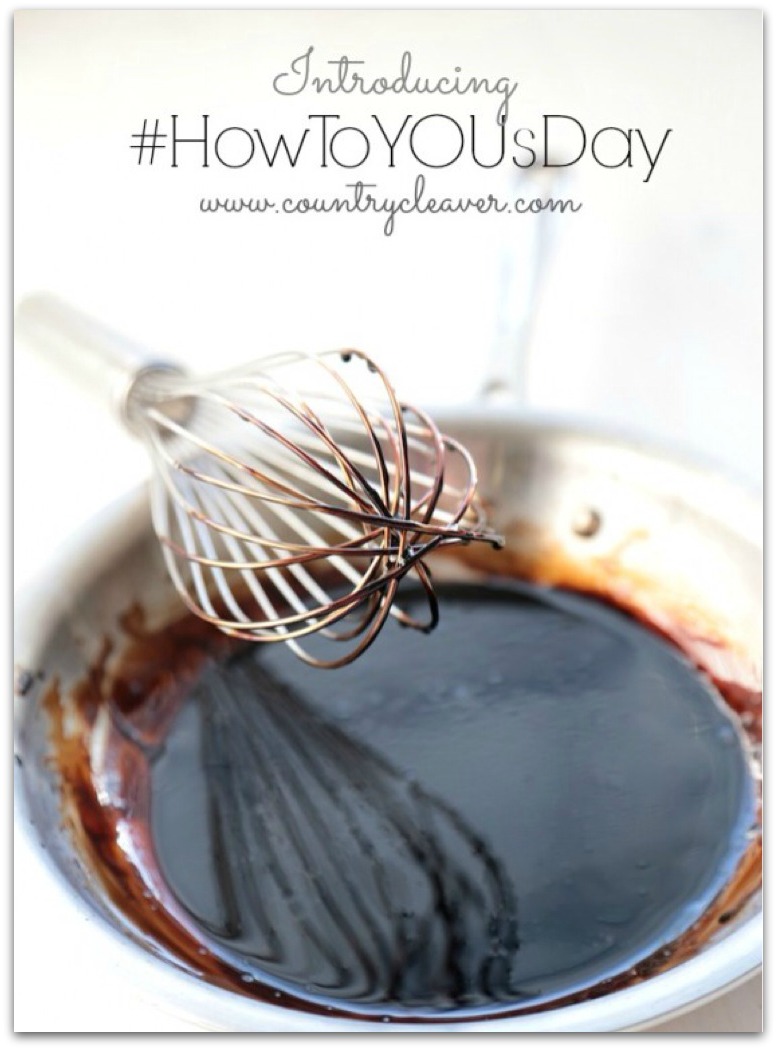
Photo courtesy of Megan at CountryCleaver.com; used with written permission
To participate, you must follow Megan’s how-to lesson and then show your work. I like this SO much better than math class word problems. Since I had a bottle of balsamic vinegar in the pantry, I jumped right on it and used my reduction for lunch. First, let’s talk about the process. All you need is a bottle of balsamic vinegar and a heavy-bottomed saucepan with rounded edges.

Step 1: Measure 1 cup of balsamic vinegar.
Step 2: Pour it into a saucepan with curved sides (important for whisking).
Step 3: Cook over medium-low heat until reduced by 1/2 and syrupy.
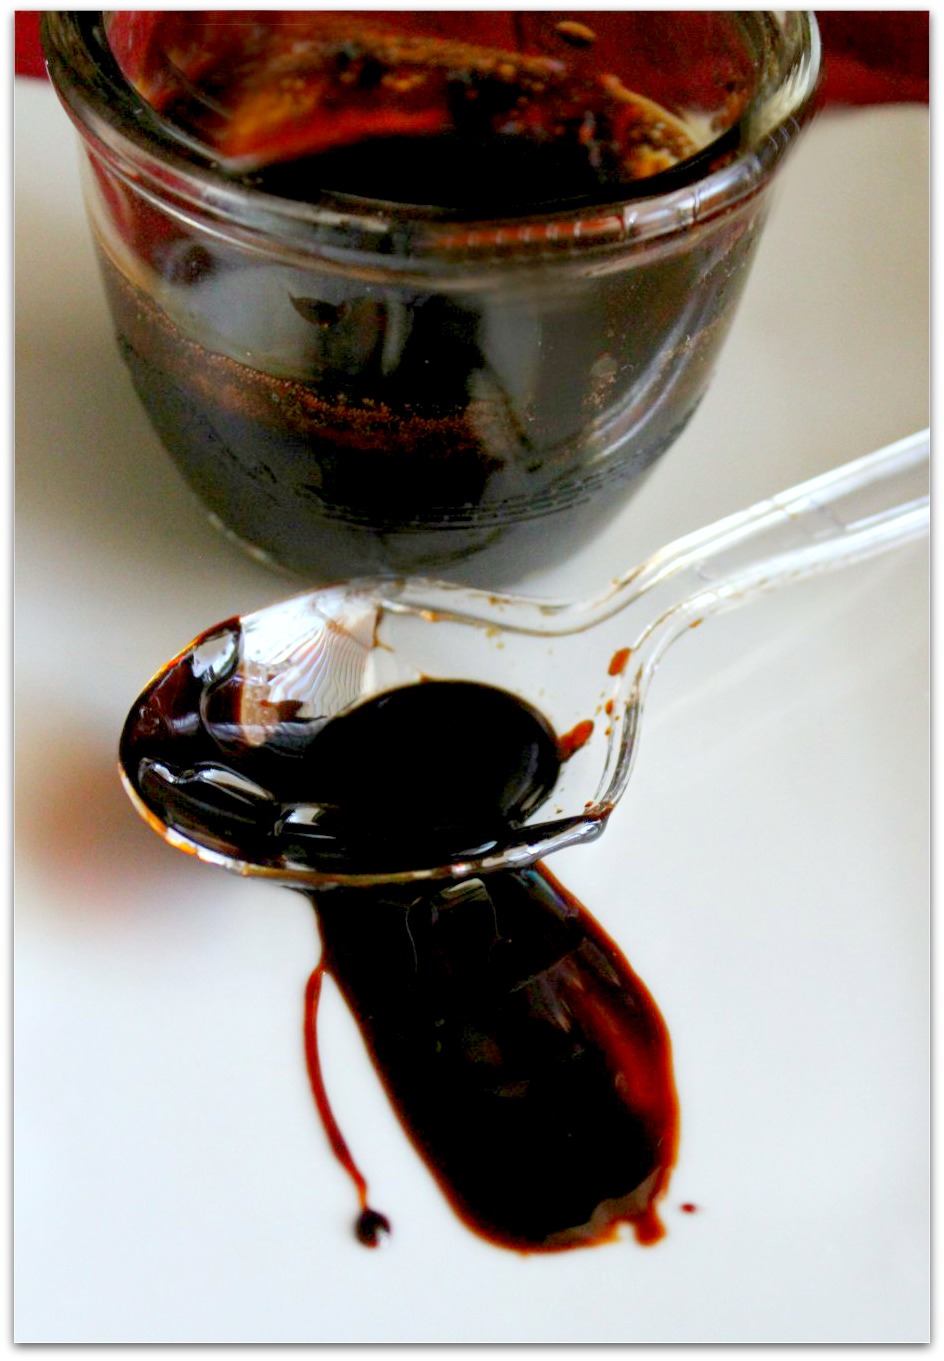
Step 4: Pour into a heat-proof glass container & cool to room temp.
It’s really that simple. I will say, I was afraid I would burn this and have to pour it out or start over. To prevent that, I stayed close to it, whisked often, and when it started to bubble and thicken, I reduced the flame to low – just to be sure. When it was thick enough to coat a spoon and I could scrape a path through the pan with a silicone spatula, I knew I was golden.
So what do you do with balsamic reduction? I decided to use mine on sandwiches for lunch – specifically spicy chicken bahn mi sandwiches. Because why eat a boring bologna sandwich when you can have something schmancy? Actually, I hopped on this one because I had all the ingredients at hand.

Oh yeah, baby…. come to momma! This sandwich was so flipping good, y’all. It was absolutely packed with flavor. Would I eat it again? You bet your sweet bippy I would. Here’s what you’ll need to make it at home.
NanaBread’s Spicy Chicken Bahn Mi:
1 boneless, skinless chicken breast
1 tbsp. extra virgin olive oil
1/2 tsp. garlic salt
1 tsp. Penzey’s Bangkok Blend spice mix
2 bakery buns (soft on the inside/crusty on the outside)
1-2 tbsp. Thai chili garlic paste
6 baby carrots, julienned
1 jalapeno pepper, thinly sliced
1 orange mild pepper, thinly sliced
2-3 tbsp. roasted peanuts, chopped
a few rings of purple onion, thinly sliced
one leaf of romaine lettuce, julienned
one handful of cilantro, stems removed
1-2 tbsp. balsamic vinegar reduction
lime wedges, for garnish & squeezing
This recipe starts with the balsamic vinegar reduction.

While your vinegar is reducing, prep your chicken breast by trimming off any excess fat and slicing it into 1/2″ cutlets. Heat a non-stick skillet over high heat, add 1 the olive oil, then carefully add the chicken cutlets to the pan. Sprinkle generously with garlic salt and Bangkok blend and cook just until done, flipping once (approx. 2 minutes on each side). Remove to a plate, tent with foil, and allow them to cool. And try not to snitch, which isn’t easy, because that Penzey’s spice blend smells amazing.

While your chicken rests, warm your bakery buns. I like to wrap mine in aluminum foil and throw them in the oven on low for about 15 minutes. While they’re warming, julienne your vegetables and chop your peanuts.
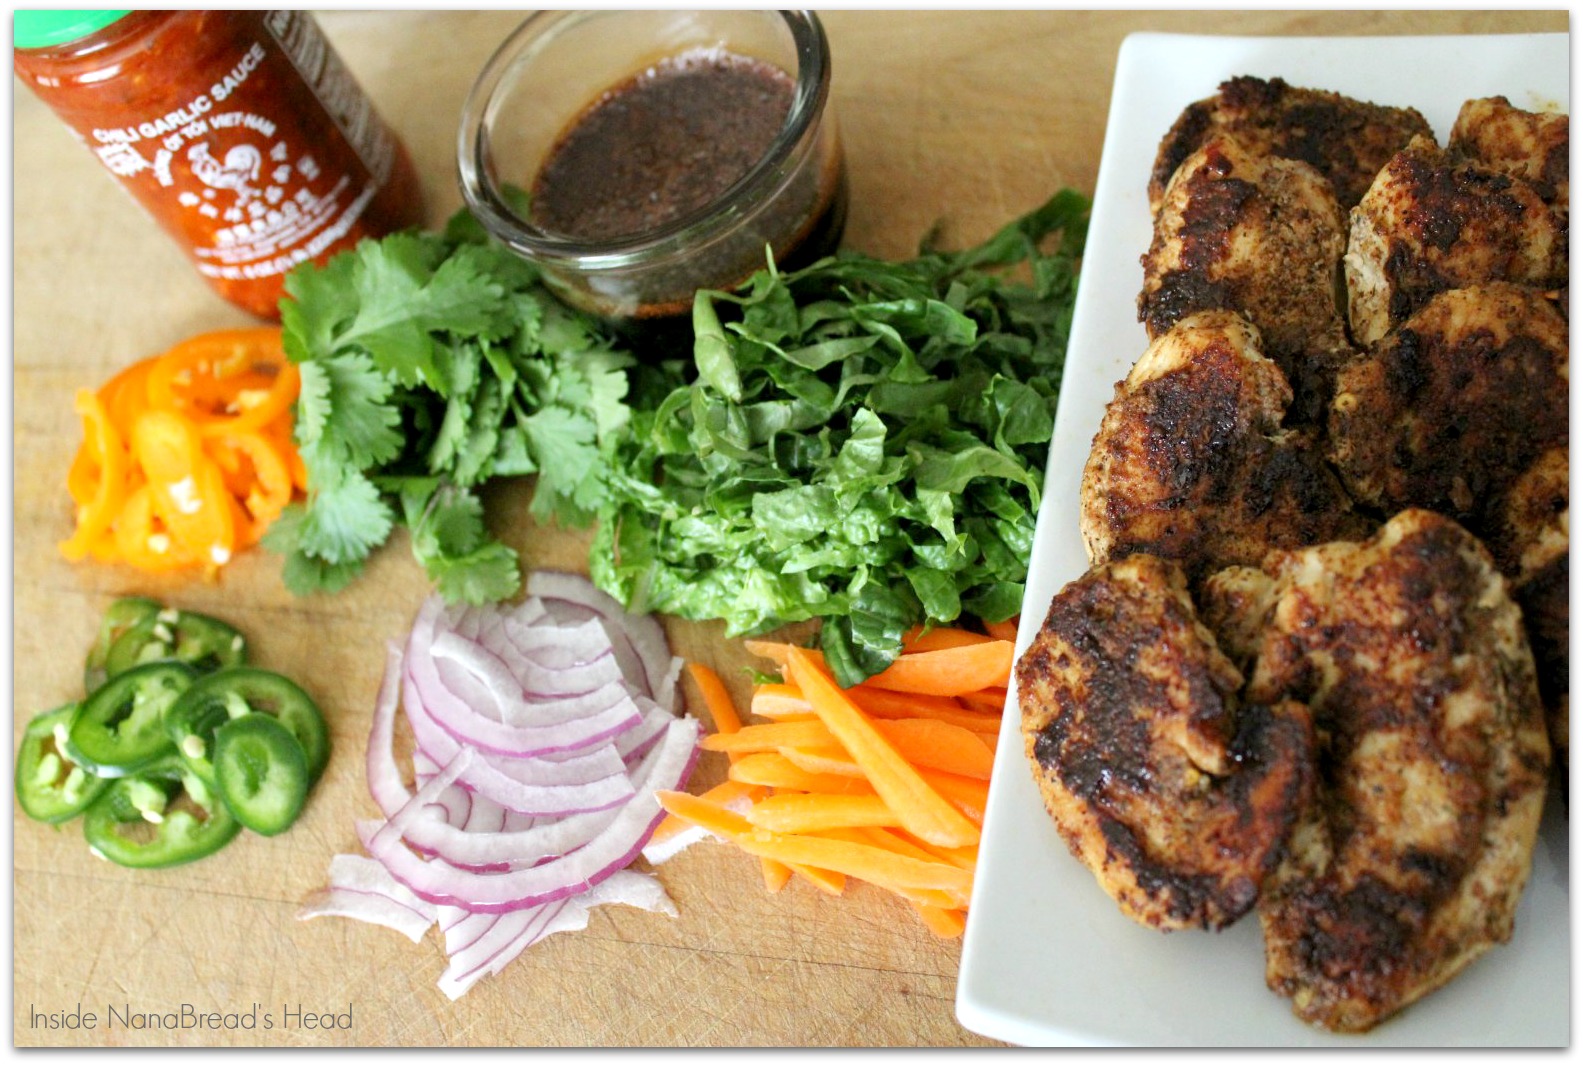

When you’re ready to assemble, slice your bun almost in half horizontally (don’t go all the way through). Smear a generous tablespoon of chili garlic sauce on the bottom half of the bun (or less, as you prefer). Top with a row of chicken cutlets, then layer on the lettuce, peppers, purple onion, carrots and cilantro. To finish, drizzle with balsamic reduction and a squeeze of lime. Hello, gorgeous!

Oh, how I wish we had smell-a-vision. There’s so much going on here. The chicken smells warm & spicy, the chili garlic sauce opens your sinuses, and the balsamic vinegar is tangy and sweet all at the same time. This entire sandwich is an explosion of flavors, and the beauty is that they all seem to balance each other out perfectly – spicy but sweet, crispy yet soft, crunch and creamy.
I served these with one of those microwaveable Asian pad-thai-style noodle bowls topped with a sprinkling of chopped peanuts, a few pepper slices and some fresh cilantro. {Claps hands, drops mic, walks away. Boom!}

I think Megan’s How-To Tuesday challenges and I are going to get along just fine. And if I don’t win the Target card, I’m still a winner. Because I got to eat that sandwich.
If you want to follow along or jump in and participate, follow Megan at www.countrycleaver.com, or on Twitter @CountryCleaver, or on Instagram and follow the #HowToYOUsDay hashtag.