
I feel like I should apologize for loading my blog with so many recipes lately. I usually try to spread them out, but we’ve eaten so many good things this past week, I feel like I need to share them before I forget them. Don’t laugh at me. It happens. I blame the menopause. Today, I want to share my new favorite side dish. I’m calling it Poblano Rice because I’m creative like that.
The Complete Package loves rice. I’ve mentioned this before. He’s addicted. I whipped this up one night to go with Mexican food, and now it’s our favorite side. It starts with poblano peppers, either canned or fresh. I’m in Texas, so I usually go for fresh.

Oh, baby. Poblanos are my favorite. I could eat them every day. I roast them over an open flame on my gas stove, steam them, peel and de-seed them, then chop. Then snitch a few. Then slap my own hand, usually. For this dish, I throw them into cooked or leftover plain basmati rice and add sour cream, monterrey jack cheese, garlic salt, salt & pepper. So simple, and yet so very satisfying.

NanaBread’s Creamy Poblano Rice
1 cup Texmati basmati rice, uncooked
1 1/2 teaspoons of kosher salt (or 1 tsp. regular table salt)
2 cups of water
1 tablespoon of vegetable or canola oil
1/2 teaspoon of garlic salt + 1/2 teaspoon kosher salt + 1/2 teaspoon black pepper
3 fresh poblano peppers – roasted, skinned, seeded & chopped OR 1 can of sliced poblano peppers (7.5 oz.), drained
1 cup sour cream (low-fat is fine; I even use fat-free Greek yogurt)
1 1/2 cups of grated pepper jack cheese
cayenne pepper, to sprinkle on top (optional)
In a medium size heavy-bottom pan, add the vegetable oil. Turn the heat to medium-high and heat the oil just until it starts to shimmer. Add the rice and cook, stirring often, until the rice turns chalky white and some of the grains start to brown very lightly. Carefully add the water, throw in the salt, and stir to keep the grains from sticking. When your rice begins to bubble vigorously, give it one last stir. Place a lid on the pan, reduce the heat to low (I set mine between 1 and 2 on my stove dial), and set your kitchen timer for 25 minutes. Once done, remove the lid and allow the rice to cool. TIP: this is a great way to use leftover steamed rice. Just start at the ‘stir in everything else’ portion of the recipe.
In a mixing bowl, combine the cooked rice, sour cream, poblano peppers, garlic salt and one cup of grated pepper jack cheese. Mix it up and give it a taste.
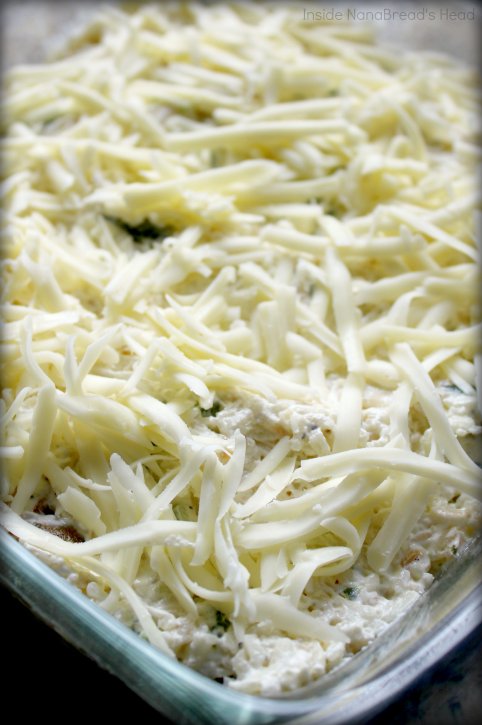
If it needs more garlic salt, regular salt or you want to throw in some cracked black pepper, now is the time to add it. Once it’s perfect, spoon it into a baking dish that has been lightly sprayed or oiled. Spread it out evenly and top with the last 1/2 cup of grated pepper jack cheese. Man, I love cheese. All the cheese. Not Limburger, but all the others.

If you like spice, sprinkle on a little cayenne pepper. It really kicks it up a notch. I highly recommend it. Highly.
Pop your baking pan, uncovered, into a hot oven (375F) for 20-25 minutes, or until the cheese on top is melted and bubbly. Remove from the oven and serve it with your favorite main course. This week, it was my recipe for carnitas.

Two weeks ago, it was fajitas. Next week, it could be fish tacos. The possibilities are endless and the world is my oyster. Hmm… poblano rice with grilled oysters, shrimp and veggies? Or poblano rice with carne asada. Or poblano rice with the Pioneer Woman’s tequila-lime chicken. Dang. Now I’m hungry. Again.
Update: On June 2, 2016, I updated the photos for this blog post. The originals were poorly lit and frankly not very appetizing. If you followed a Pinterest link to get here and the photos don’t match, don’t worry. It’s the same recipe, just with hopefully more appetizing representations of one of my favorite family recipes. -jeanne

